In getting this portfolio for my various cybersecurity projects set up I needed to create a website and figure out how to get it out into the internet so that people can visit it. There sure is a lot of information out there for methods to do this, but I wanted to make sure it was inexpensive and to not just have someone else do it for me. I thought it would be a great little project to learn and figure out how to go about this, and it would be great to share with anyone else looking for some help on how to do it themselves as well. Best of all, it can be done in a relatively short amount of time, not waiting on others to get it done for you!
This guide will explain step by step how you can create your own self-hosted website, quickly and securely. Let’s get started!
Open an account with Digital Ocean
Digital Ocean offers many cloud-based products and services and we will be using them deploy a web server via a cloud-based virtual machine. Visit their website at https://www.digitalocean.com/ and create and sign in to your account.
Create a project
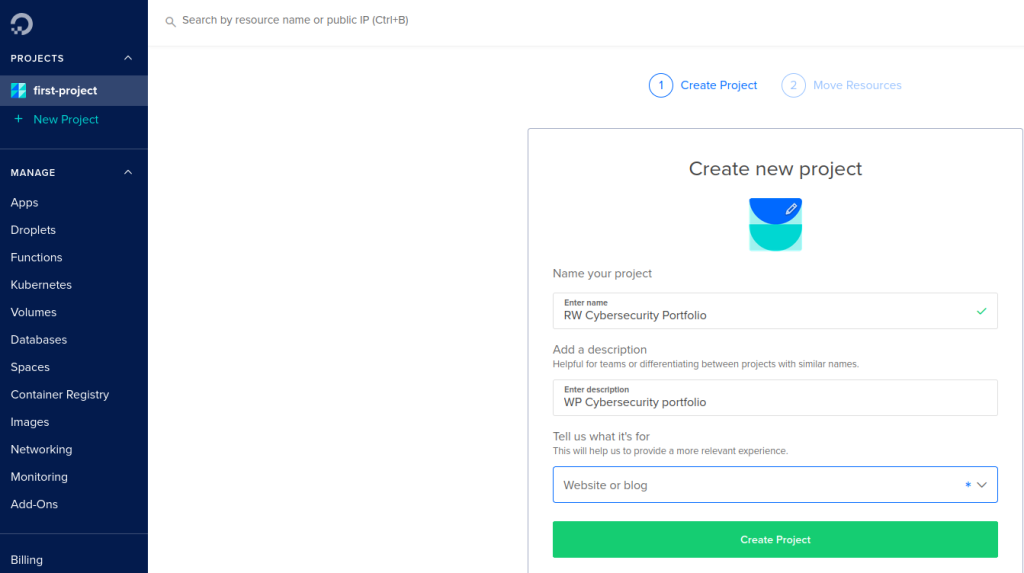
Now you will want to create a new project by selecting ‘+ New Project’ from the menu on the left. Go ahead and give your project a name and description and select ‘Create Project’.
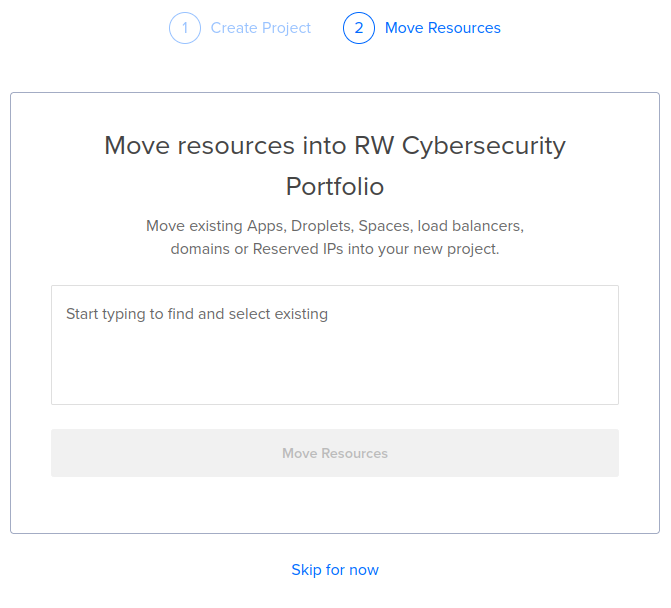
You can select ‘Skip for now’ if it asks you about moving resources into your project.
Create a Droplet
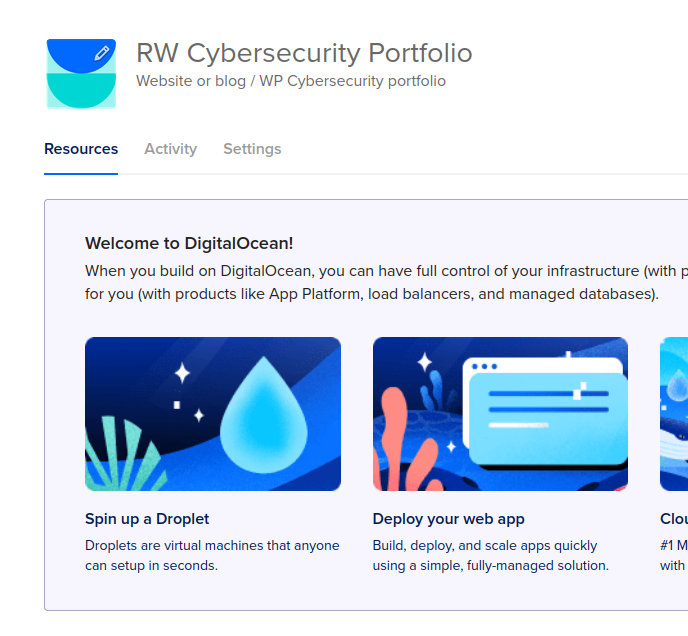
While in the ‘Resources’ tab select the option to ‘Spin up a Droplet’.
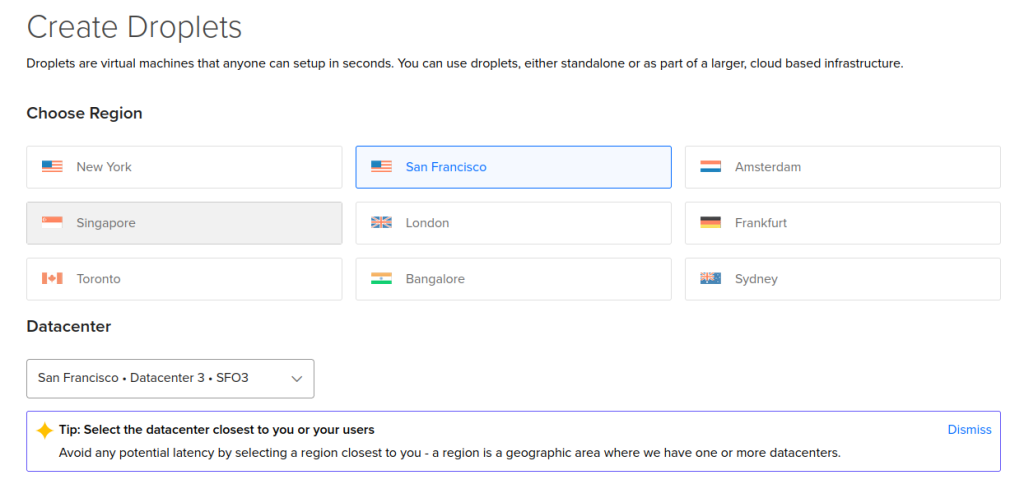
You will then need to select a Region and Datacenter. Choose the one that is best for you, which will probably be the closest to you physically.
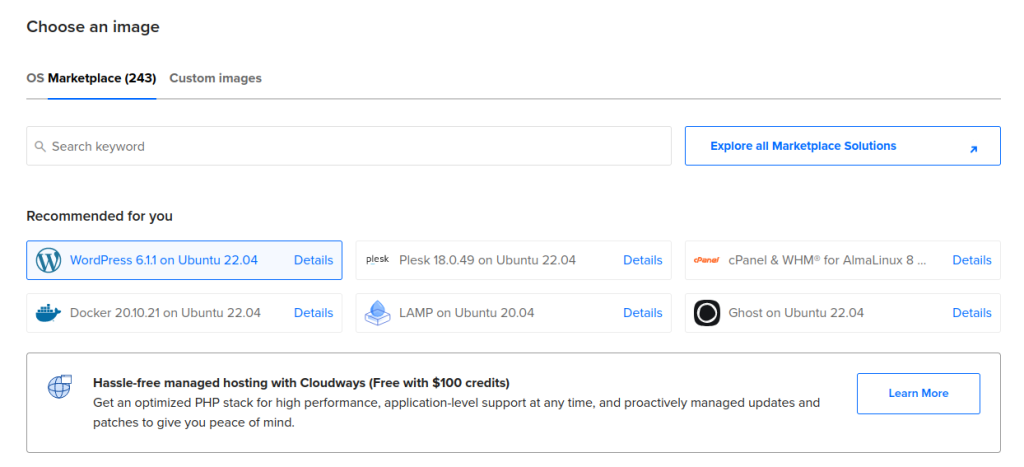
Next you will want to scroll down the page to the ‘Choose an image’ section and select the ‘Marketplace’ tab. From these options select WordPress.
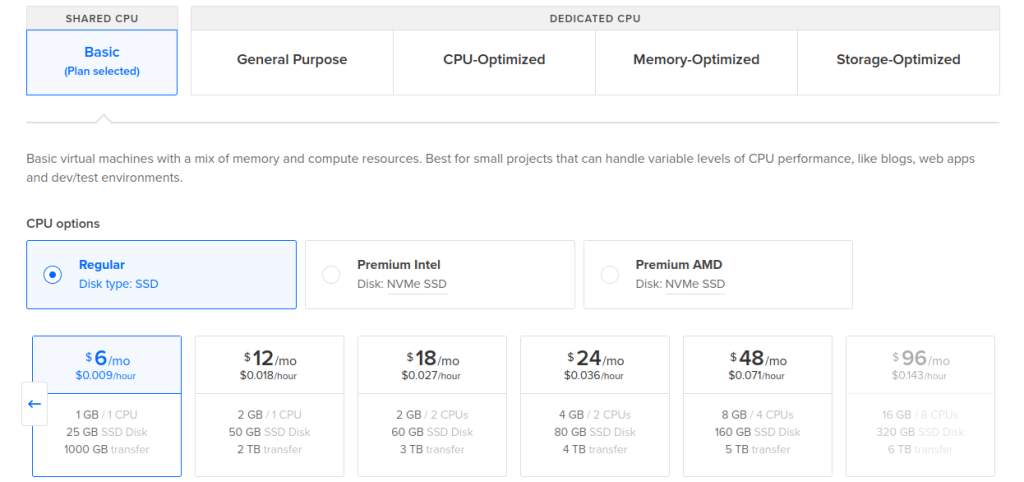
For my virtual machine I chose the cheapest options for the ‘hardware’ as I’m running a simple blog website. You can choose what is best for you.
Now you will need to select your login method. I recommend using a SSH key as it is a much better option for security. If you prefer to use a password I would suggest to use a very long, strong password. This random password generator would be good for coming up with one…
If you decide to go with SSH Key like I recommend, select ‘New SSH Key’ to get started.

There will be instructions on the right side of this new form for Linux, MacOS, and Windows. I’ll be going with the Linux set up. Follow along with the steps provided by Digital Ocean to create a new key pair.
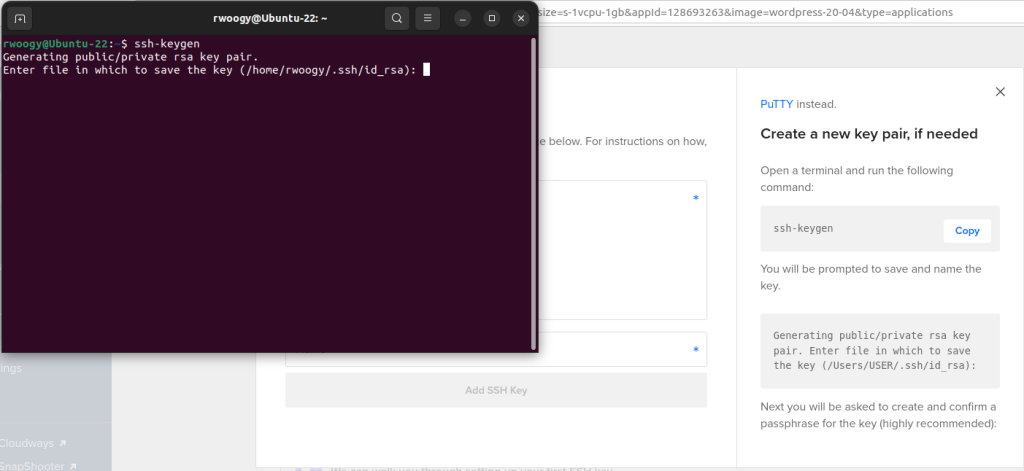
Add the public key where you are prompted to do so, then add a name, and finally select ‘Add SSH Key’ to finish it. Going with this route will allow us to remotely login to our virtual machine using SSH.
Now you can finalize the details by adding a Hostname and then selecting ‘Create Droplet’.
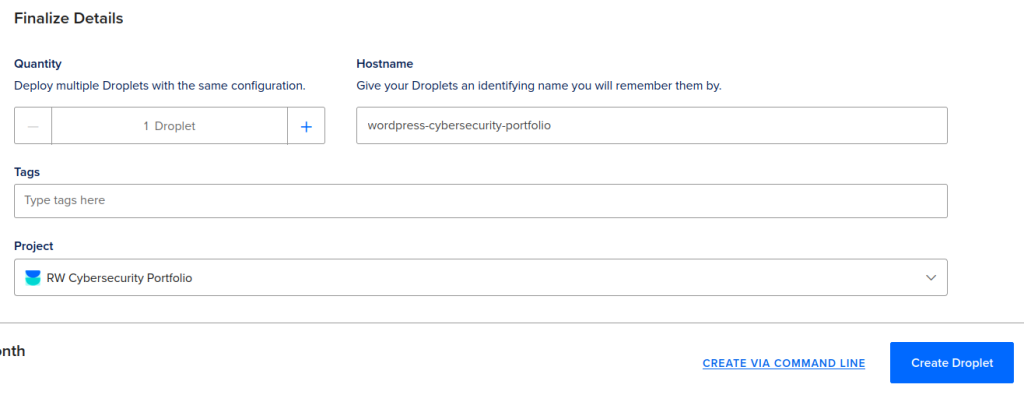
After a minute or so your new Droplet will be up and running and it will provide you with its IP. This Droplet, or virtual machine, is where the new website will be stored, and the IP is how people will be able to access it. Keep note of the IP for later, and make sure to use yours and not the one shown on mine.

Purchase a Domain
The IP is technically all that is needed for someone to visit your site, but nobody wants to remember a bunch of digits for every site they want to visit. That’s why DNS was created, which essentially translates IP addresses into an easier to remember human readable format. It’s much simpler to remember google.com as opposed to 142.251.35.206 (Google’s IP at time of writing).
To obtain a name for your website you’ll have to purchase the Domain first. There are many options out there for this service but for this example I’ll be using https://www.namecheap.com/ which is pretty simple to work with. First you will need to create and login to your account. Once that is completed you can select ‘Domains’ from the top navigation menu and then select ‘Domain Name Search’. From here you can enter the name you would like to use for your website into the search bar and select ‘Search’ to finish.
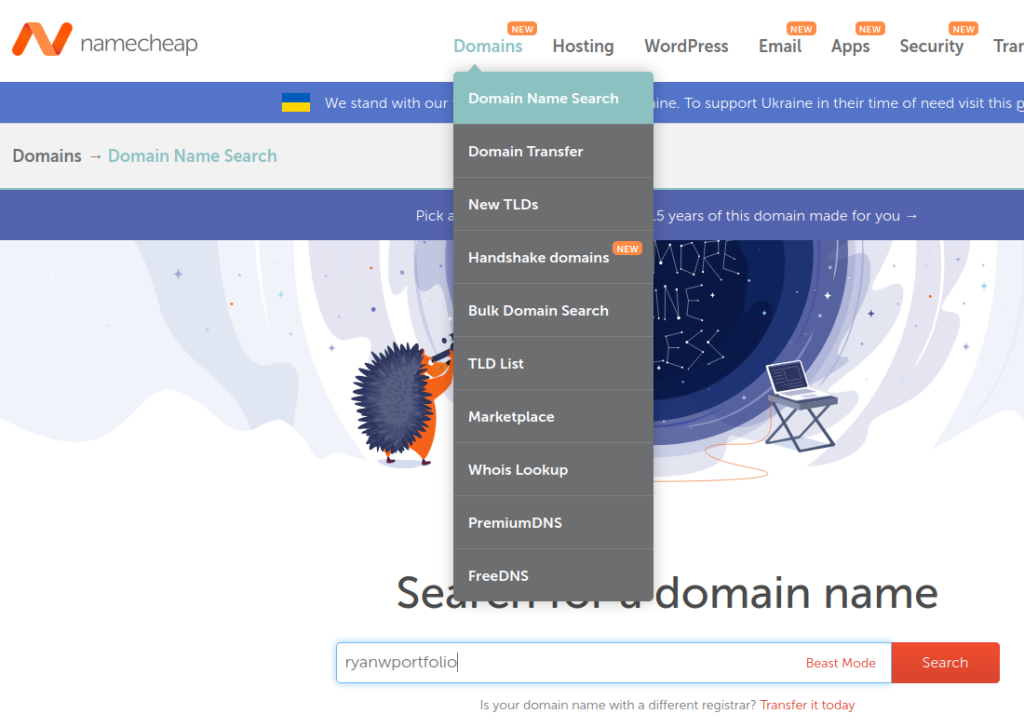
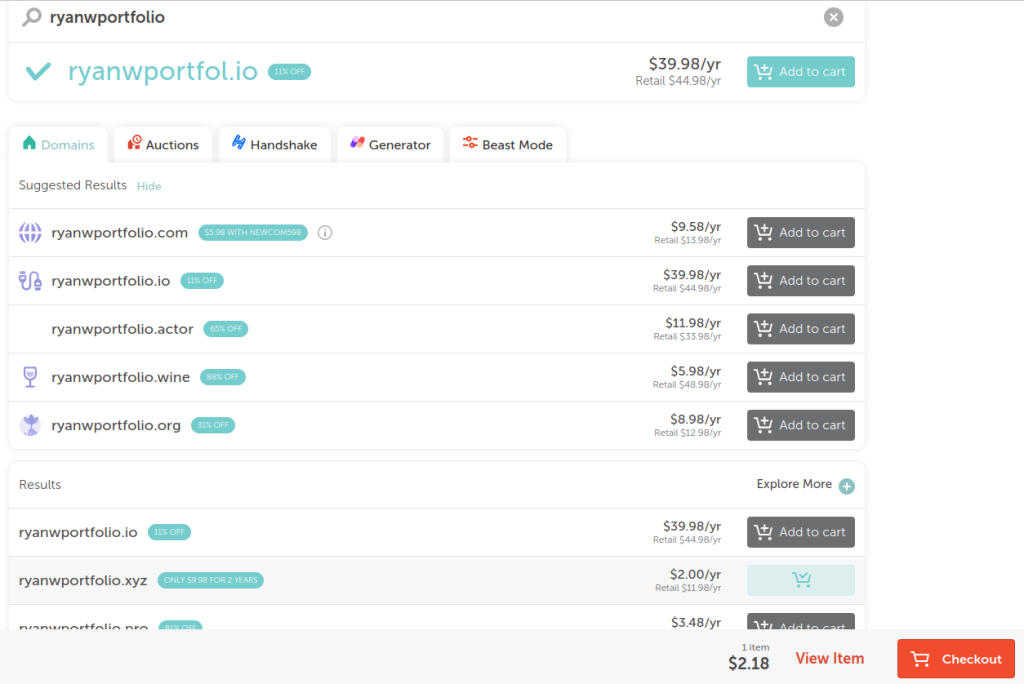
The search results will show you if the domain name is available with the corresponding top-level domains ( .com, .org, .net, etc.). If you don’t see the choice you wanted to use, it is most likely already being used, so you can search again until you find what you want. Once you have selected one you can add it to the cart and check out.
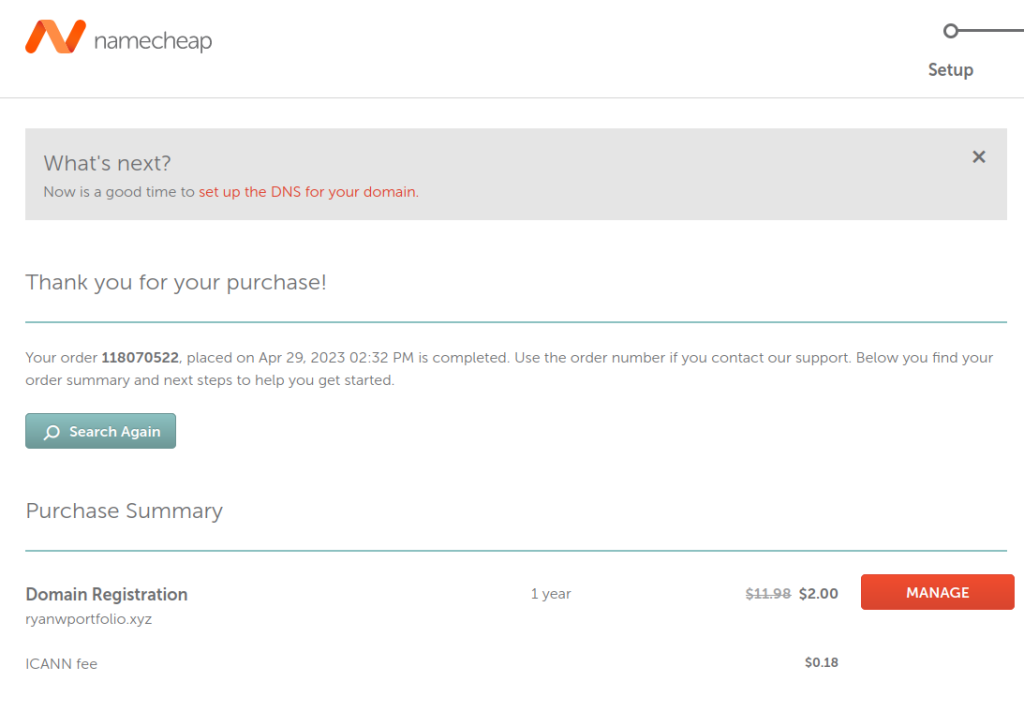
After purchasing the domain you will want to select ‘Manage’ to start configuring it.
Configuring the Domain
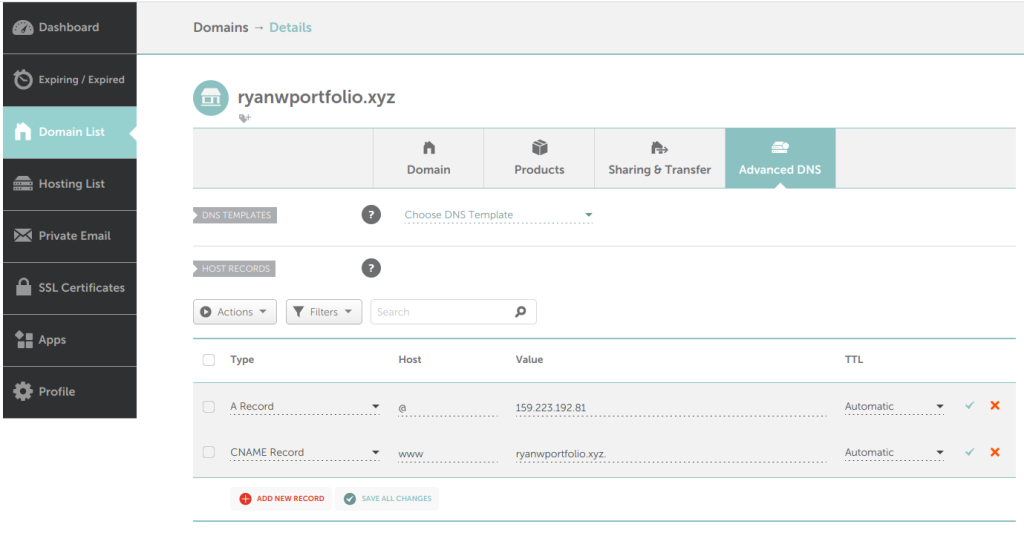
On this page make sure you are in the ‘Domain List’ section of the left menu, and then select ‘Advanced DNS’ to continue. You will see some records already created which you need to delete. You then need to create two new records.
First is the ‘A’ record, for Host just use the ‘@’ symbol, and for Value type in the IP address you received earlier for your Droplet at Digital Ocean. Setting the ‘A’ record is essentially how the IP address of your website is translated to the domain name that will be used for the website. So now users can type in the domain name and they will be forwarded to the IP address that corresponds to it.
Second is the ‘CNAME’ record, for Host use ‘www’ and for Value type in the domain name that you just purchased. The ‘CNAME’ record is used to link domains or subdomains to another domain. For example if your subdomain is ‘blog.example.com’ you can link it to ‘example.com’ and it will still find the correct IP address.
TTL can remain automatic for both of these records. Once you have entered the information correctly be sure to save these records. The process is generally pretty quick to populate the new DNS records across all of the DNS servers over the internet but in some cases it can a few hours.
Install WordPress on your Droplet
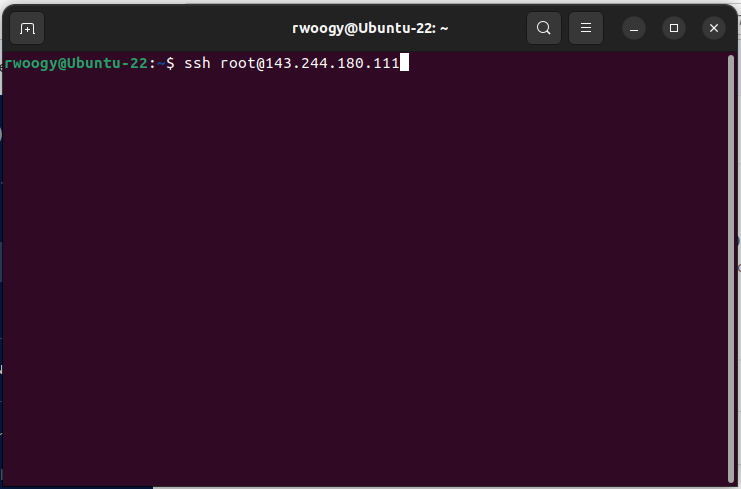
With Digital Ocean the process to setup your server is very simple. All you have to do is login to your server using the SSH Key we set up before. Open a terminal and SSH into your server.
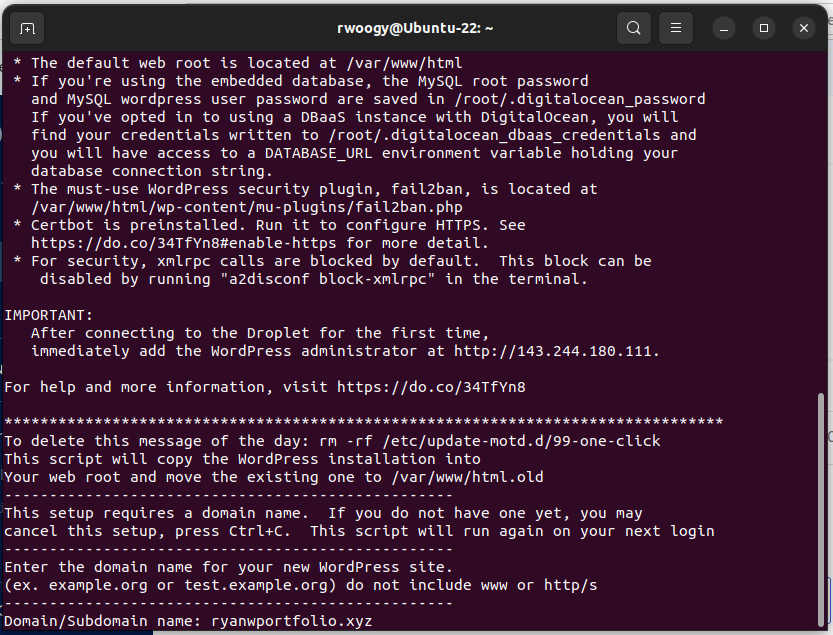
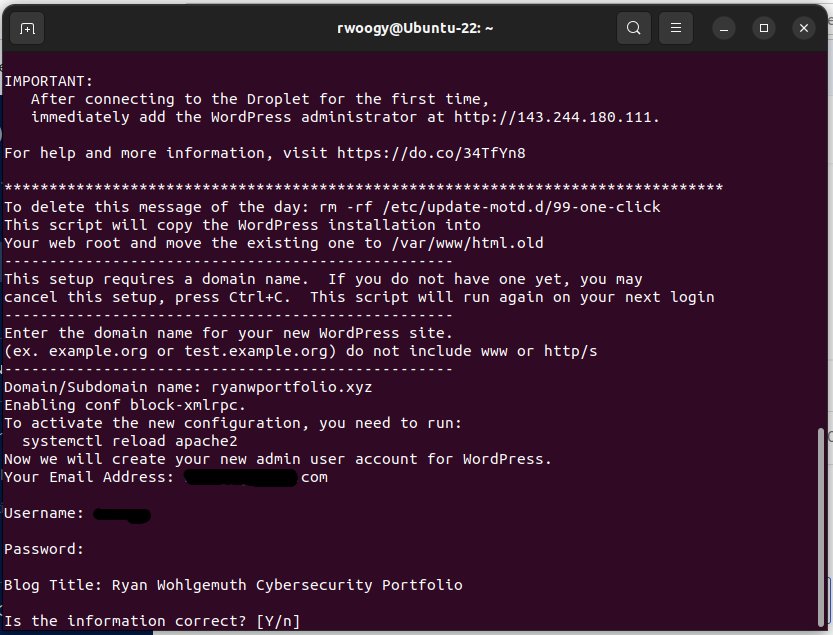
Digital Ocean’s script will start running and do all the heavy lifting for you. When it stops it will ask you for the domain name, so go ahead and enter the one you purchased.
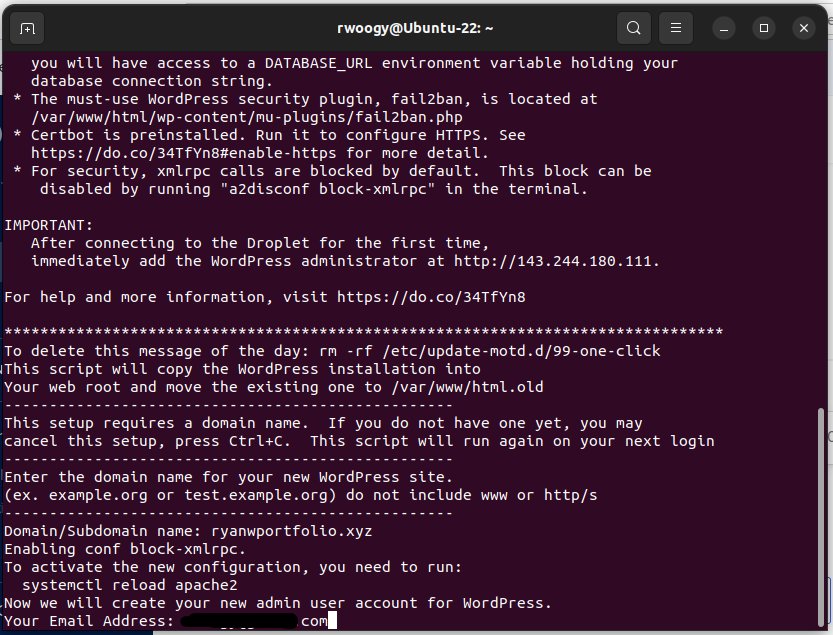
The script will continue and then ask for your email.
Next it will ask you for a username and password to login to the WordPress server. These will be your credentials to login to the back end of the website where you can make updates and edits to it. Be sure to use a secure password as we will see a bit later how often others will attempt unauthorized access to your website. This is also a good opportunity to use your own random password generator…
You can also create a title for your website when it prompts you to. When you are satisfied select ‘Y’ to confirm and continue.
Configure SSL
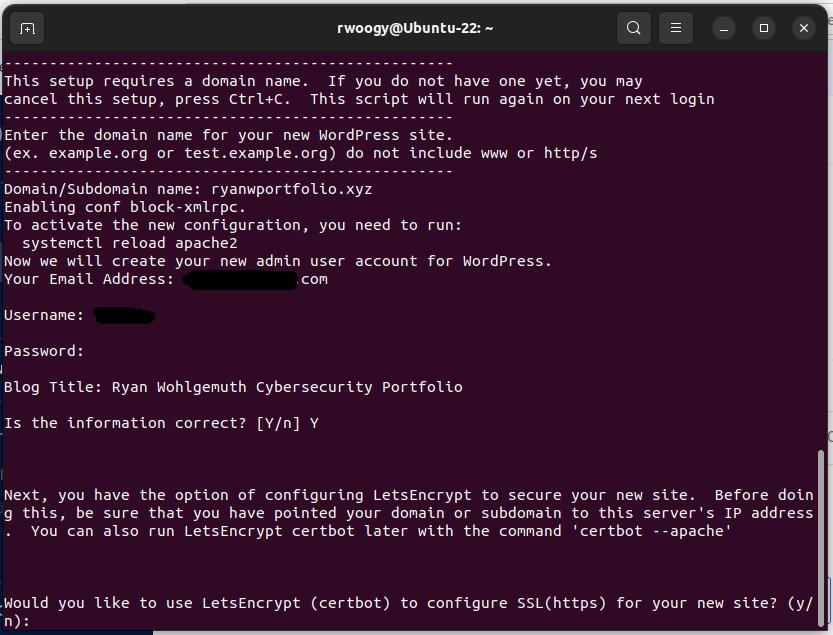
As the script continues it will help you to get a real SSL certificate if it can verify the domain that you set previously while configuring the domain records with Namecheap. SSL is a protocol that was created for encrypting internet traffic and allowing our server’s identity to be verified. You’ll notice in the URL bar on websites that you visit when the address begins with ‘https’ vs ‘http’ that it has a SSL certificate and you can be sure that any data you submit to the website is secure.
The script will use a program named Certbot to help you configure the SSL, so select ‘Y’ when you’re ready to continue.
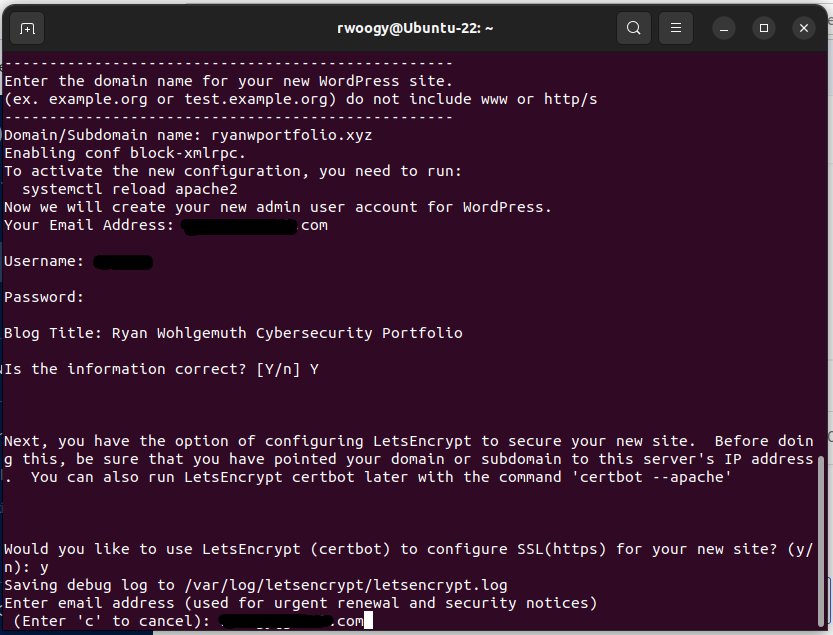
Enter your email when prompted. This will enable you to be alerted when there are any security issues or urgent renewal notices relating to your SSL certificate.
You will then be provided with a URL to go over the terms of service, and to continue you must agree to these terms and select ‘Y’.
You will also be offered to opt in for emails from the Electronic Frontier Foundation, select yes or no to continue.
Now it will ask you the names for which you want to activate ‘HTTPS’ and it should already be populated with the two that you set the ‘A’ and ‘CNAME’ records for previously. Press enter to continue.
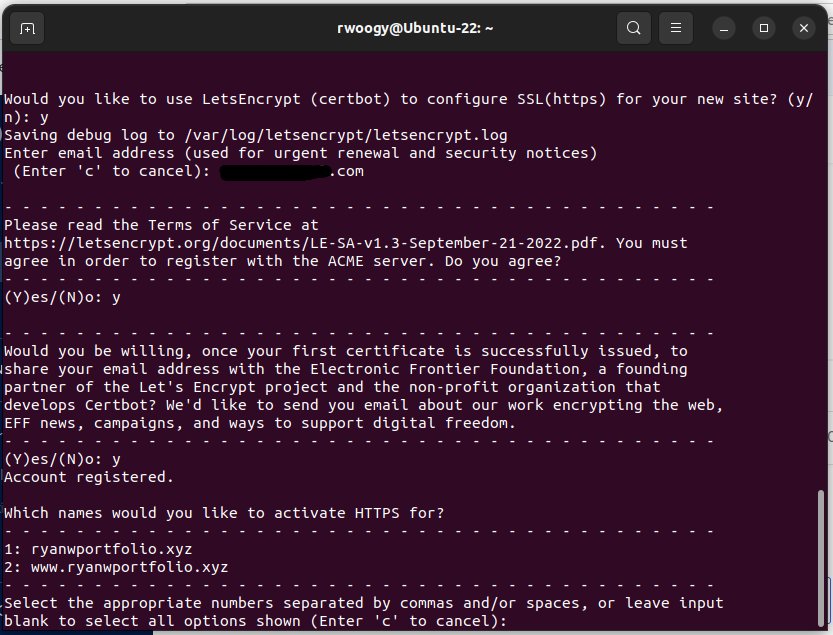
If you followed all the steps correctly it should work properly, but if you get an error you may want to check that you set up your DNS records correctly and try again. Once it runs successfully you should see a screen like the following picture.
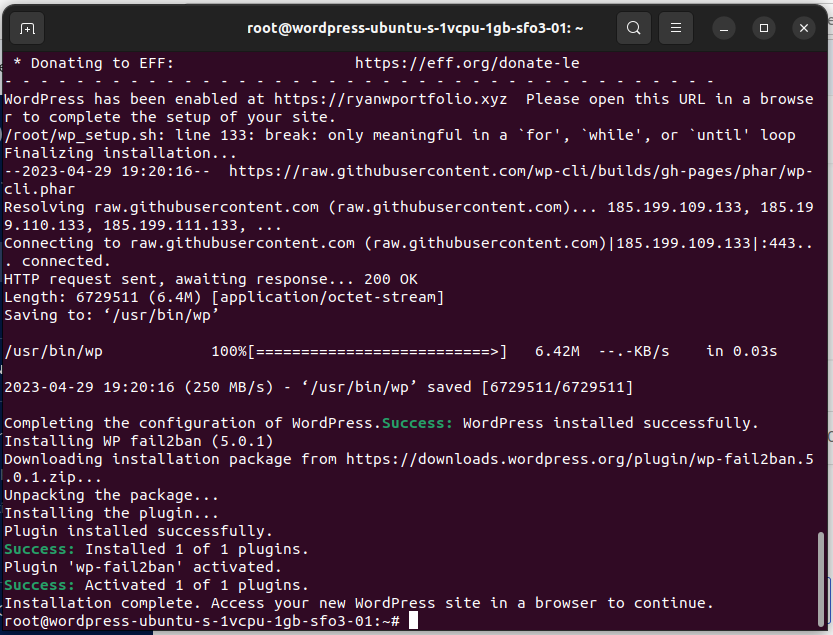
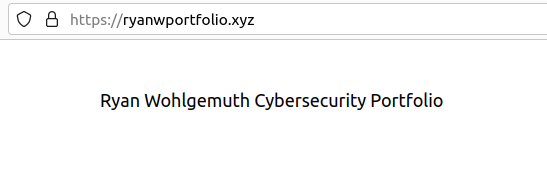
Now you can go to your web browser and type in the address and you should see the lock symbol on the left side of the address bar signifying that the site is encrypted.
Login to WordPress
Now you can login to the back end of your website using WordPress and start customizing your site. Just add wp-admin to the end of your address and it will take you to the login page. It should appear like https://yourwebsite.com/wp-admin
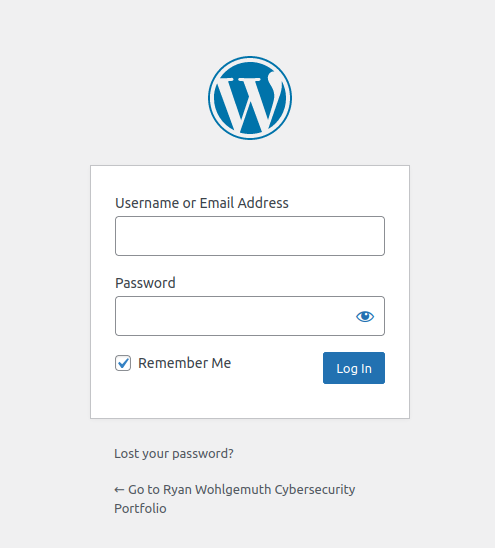
This is where you will use the login credentials you entered during the start up script setting up the server. Once you login successfully you will reach the Dashboard area which will look like the following image.
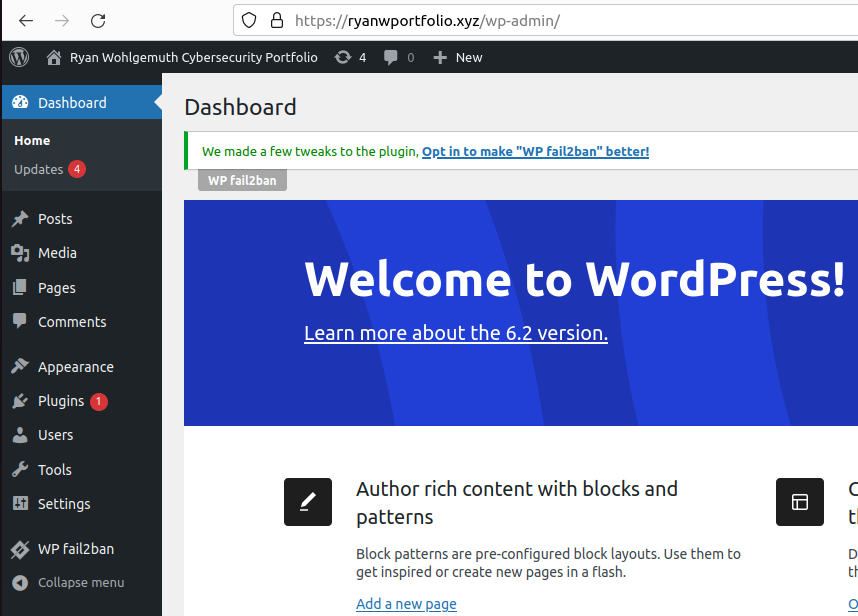
Some additional pointers I recommend would be to activate the WP fail2ban plugin and use one of the free themes that WordPress offers.
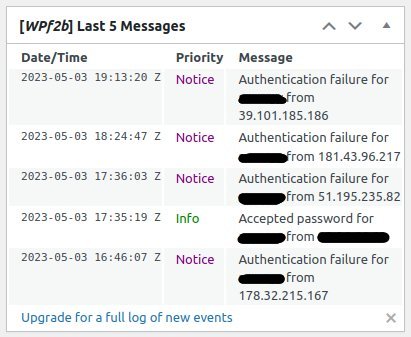
The Plugin section can be found by finding the appropriate link on the left hand menu. Opt in to this plugin which offers a myriad of security features. You will be able to see on the dashboard a small window showing a log of failed or successful login attempts. I sure hope you used the random password generator to come up with a strong password!
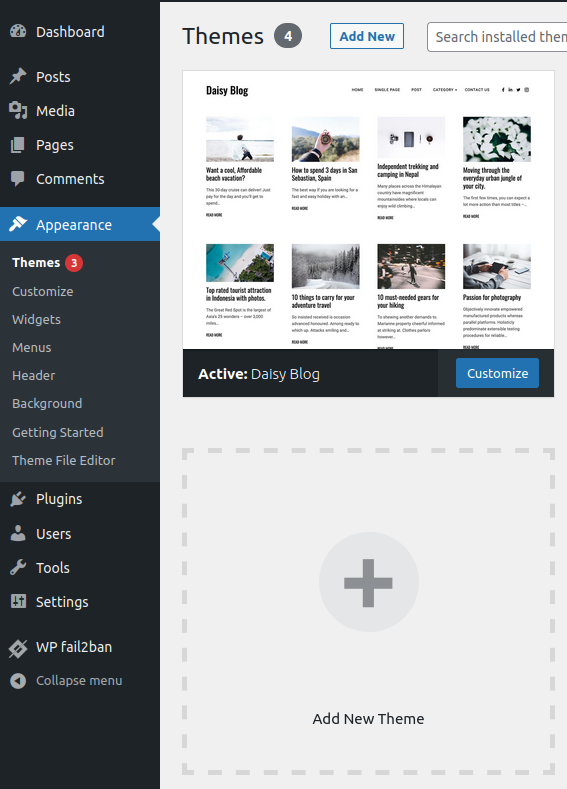
Unless you want to build and design your own webpage you should definitely take advantage of the free themes that WordPress offers. Just navigate to the Appearance → Themes section and select ‘Add New Theme’ and choose one that you like. Once you activate it your site will take on that theme and you can start editing it.
